BUMPERS & FASCIAS

Not all collision parts are created equal. GM Genuine Parts are the only ones designed, engineered, tested and backed only by General Motors.  

KNOW YOUR BUMPERS & FASCIAS

Bumpers and fascias have come a long way as vehicle designs, safety and Advanced Driver Assistance Systems (ADAS) have advanced. Many now include sensors, cameras, and other built-in technology that may need special care or professional calibration.


Here’s a quick look at how bumpers and fascias have changed on the Chevrolet Silverado 1500 and why some repairs might call for professional help.

1 rem s

Stylized Blue Icon of a Front Vehicle Bumper

FIRST GENERATION
(1999–2006)

Design Details

Similar across all trims; refreshed styling depending on year

Calibration Needs

None

Stylized Blue Icon of a Front Vehicle Bumper with Grille

SECOND GENERATION
(2007–2013)

Design Details

With or without fog light cutouts, depending on trim

ADAS Integration

Later models with rear park assist sensors on some trims

Calibration Needs

None

Stylized Blue Icon of a Front Vehicle Bumper with Grille

THIRD GENERATION
(2014–2018) 

Design Details

Rear CornerStep bumper added

ADAS Integration

Radar and ultrasonic sensors; Forward Collision Alert integration on some models 

Calibration Needs

Required

Stylized Blue Icon of a Front Vehicle Bumper with Grille

FOURTH GENERATION
(2019–Present) 

Design Details

Unique bumpers/fascias per trim, with additional trims added in 2022

ADAS Integration

Extensive suite of ADAS features 

Calibration Needs

Professional calibration required 

#/#

solo la linea y 2rems s

A Blue Vehicle Collision Calibration Icon

HELP ENSURE SAFETY BEFORE HITTING THE ROAD 

Even minor body damage or glass replacement may result in damage to one or more safety-related systems on a vehicle. If you haven’t replaced sensors or other related Advanced Driver Assistance System components, a test for diagnostic trouble codes is recommended. 

If sensors or safety-related equipment have been replaced, calibration for them is required for optimal safety and performance. Have it performed at a GM Collision Repair Network shop.  

solo la linea

BUMPER & FASCIA REPAIR GUIDE

Tackling the repair yourself? The procedures vary by model, but here are the basic steps in removing and replacing a bumper or fascia on your GM vehicle.  

1 of 6

REMOVE TRIM AND COVERS 

Remove necessary trim or covers on the bumper/fascia, including fender liners that may be attached on the back or sides and/or a radiator shield under the hood that may be attached to the fascia. Use a trim removal tool (also known as a fork) to prevent damaging plastic fasteners.

2 of 6

DISCONNECT ELECTRICAL 

Unplug fog lights, parking sensors, trailer plug wiring, radar modules, etc., as applicable. Secure harnesses out of the way, so they will not be pulled when the bumper/fascia is removed. 

3 of 6

REMOVE BOLTS AND BRACKETS 

Remove the bolts and/or brackets connecting the bumper or fascia to the vehicle’s body. There are often fasteners hidden from obvious view. Generally, sockets from 10mm-18mm are required.  

4 of 6

REMOVE AND REPLACE 

Pull the bumper or fascia straight away from the body. Fascias are also typically secured with additional snap fasteners or clips. A second person may be helpful to remove heavier truck bumpers. Installation of the replacement component is the reverse of removal.  

5 of 6

REASSEMBLE AND TEST FIT 

Transfer sensors, brackets, fog lights, etc., to the new bumper or fascia and bolt it on the vehicle. Reconnect electrical harnesses and reinstall the covers and shields. Check the function of fog lamps or other lighting that may have been removed and reinstalled.

6 of 6 

SCAN OR CALIBRATE

In a vehicle with integrated advanced safety technologies, visit a GM Collision Repair Facility for:  

  • Diagnostic scanning of the lighting and advanced safety systems 
  • Calibration of sensors such as parking, trailer, blind spot, radar and more. 
  •  Confirmation of system readiness and recording of calibration logs for warranty coverage.  
#/#
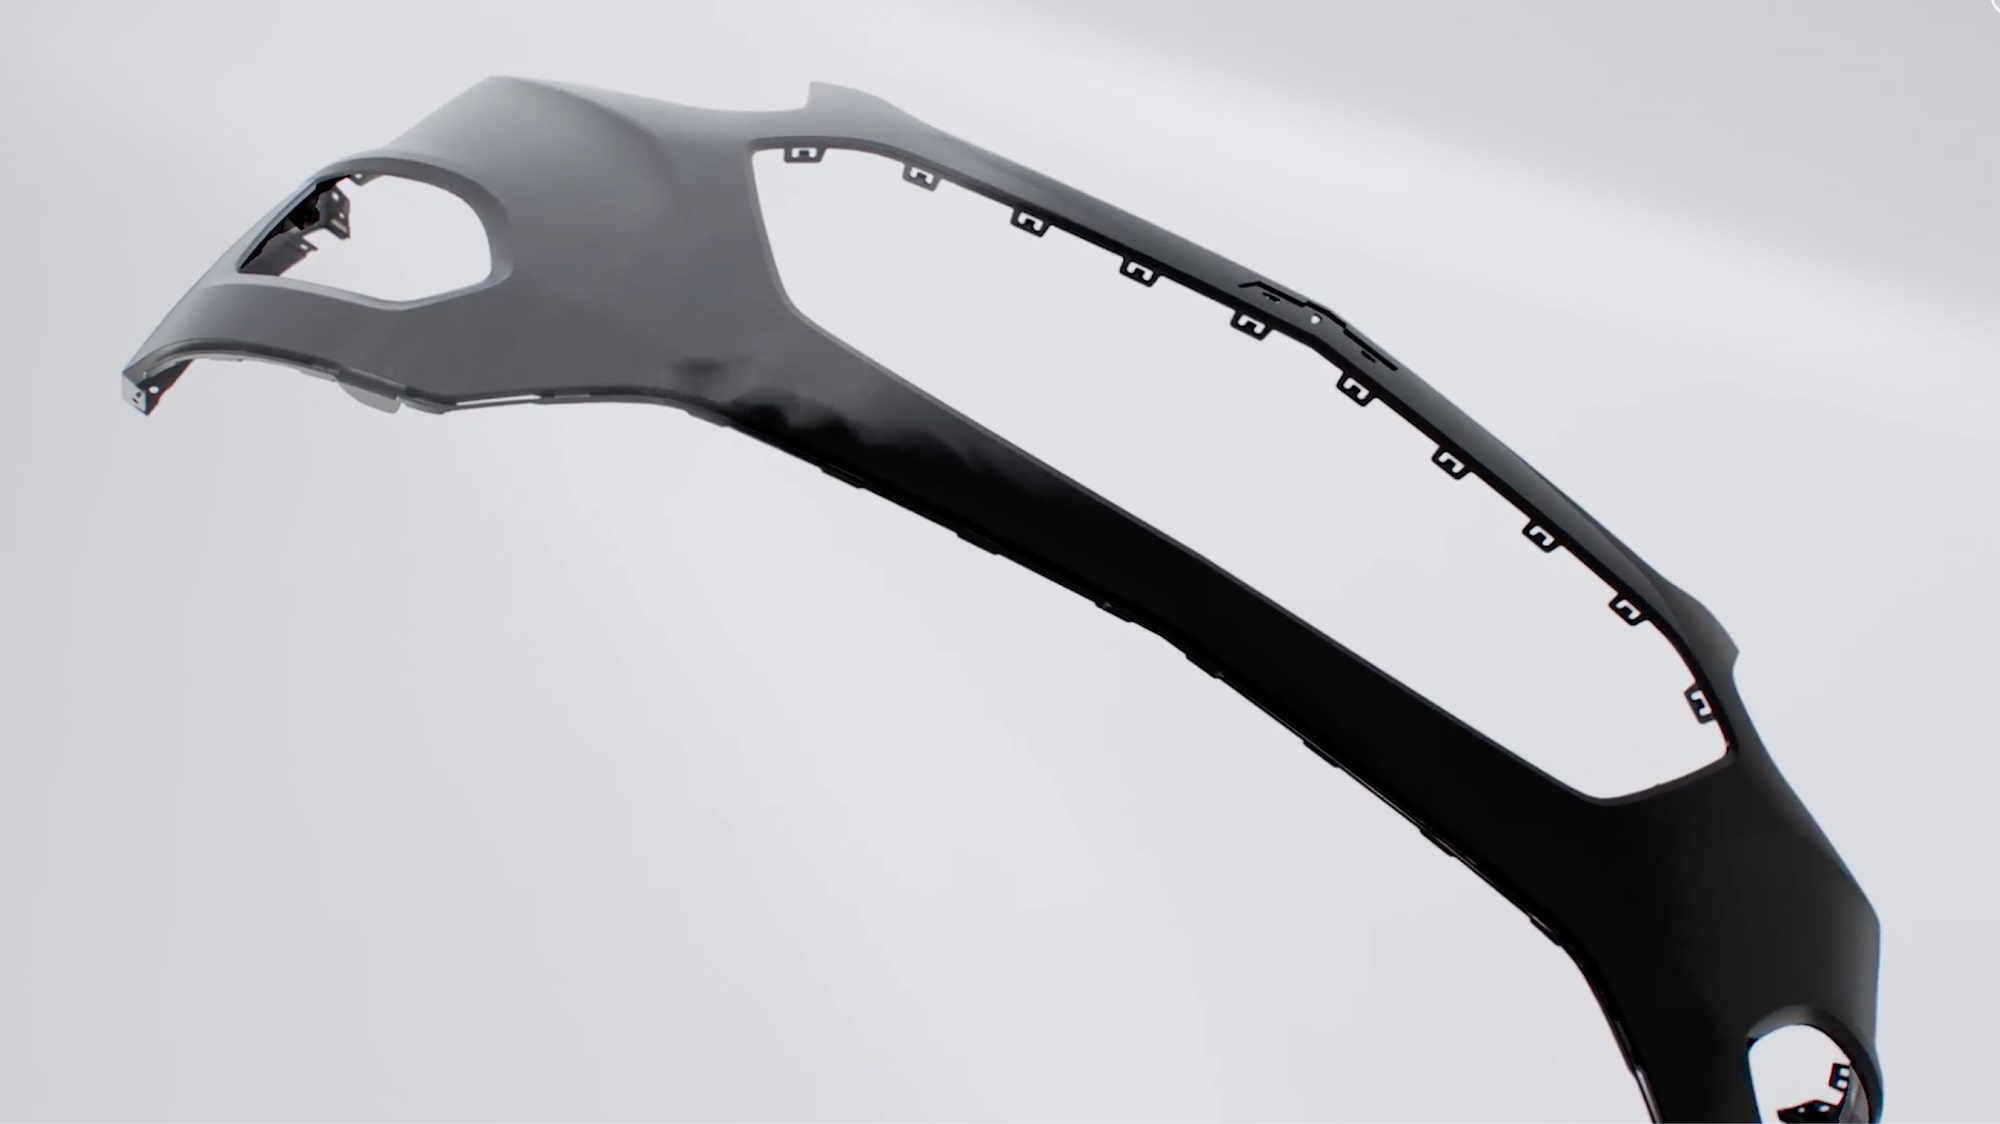
Angular View of a Front Vehicle Bumper

1 of 6

REMOVE TRIM AND COVERS 

Remove necessary trim or covers on the bumper/fascia, including fender liners that may be attached on the back or sides and/or a radiator shield under the hood that may be attached to the fascia. Use a trim removal tool (also known as a fork) to prevent damaging plastic fasteners.

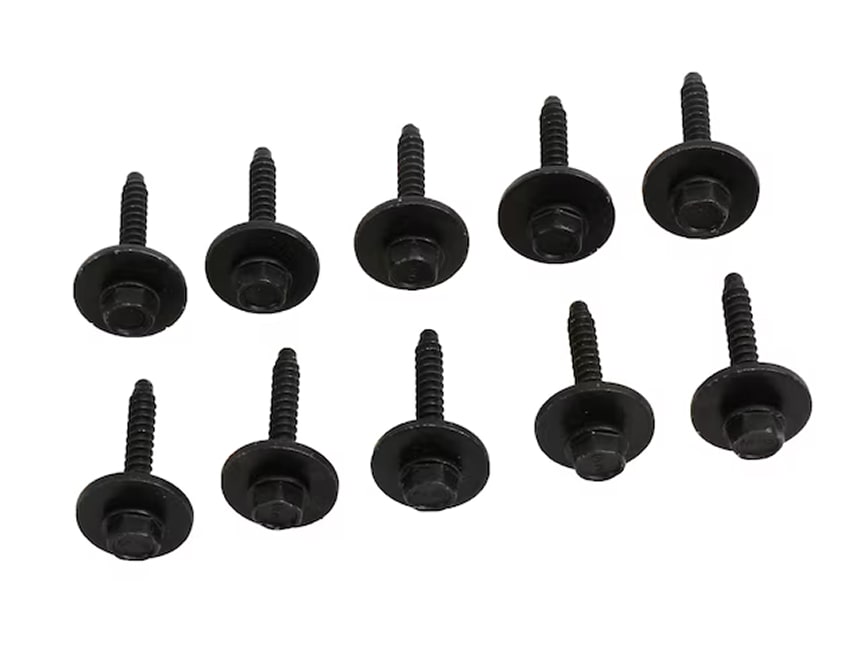
A Set of Black Screws Used for Vehicle Parts, Arranged on a White Background

2 of 6

DISCONNECT ELECTRICAL 

Unplug fog lights, parking sensors, trailer plug wiring, radar modules, etc., as applicable. Secure harnesses out of the way, so they will not be pulled when the bumper/fascia is removed. 

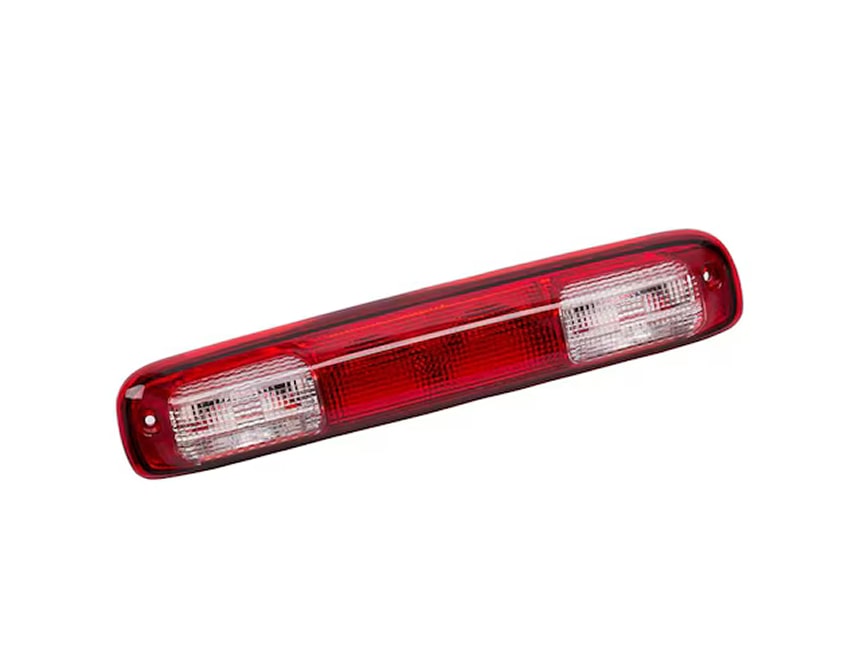
Close-up View of a Red Taillight of a Vehicle

3 of 6

REMOVE BOLTS AND BRACKETS 

Remove the bolts and/or brackets connecting the bumper or fascia to the vehicle’s body. There are often fasteners hidden from obvious view. Generally, sockets from 10mm-18mm are required.  

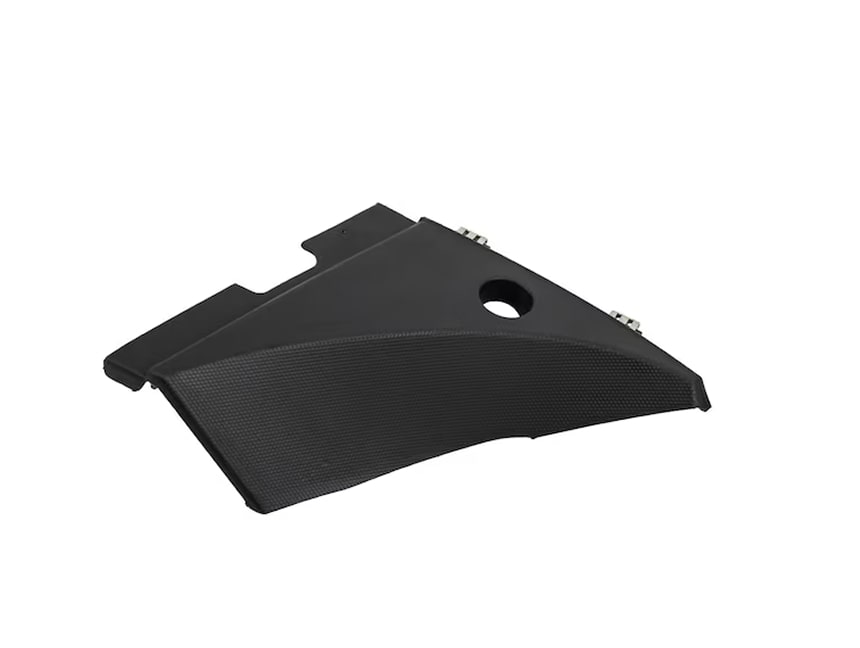
A Black Vehicle Trim Panel with a Hole and Angled Design

4 of 6

REMOVE AND REPLACE 

Pull the bumper or fascia straight away from the body. Fascias are also typically secured with additional snap fasteners or clips. A second person may be helpful to remove heavier truck bumpers. Installation of the replacement component is the reverse of removal.  

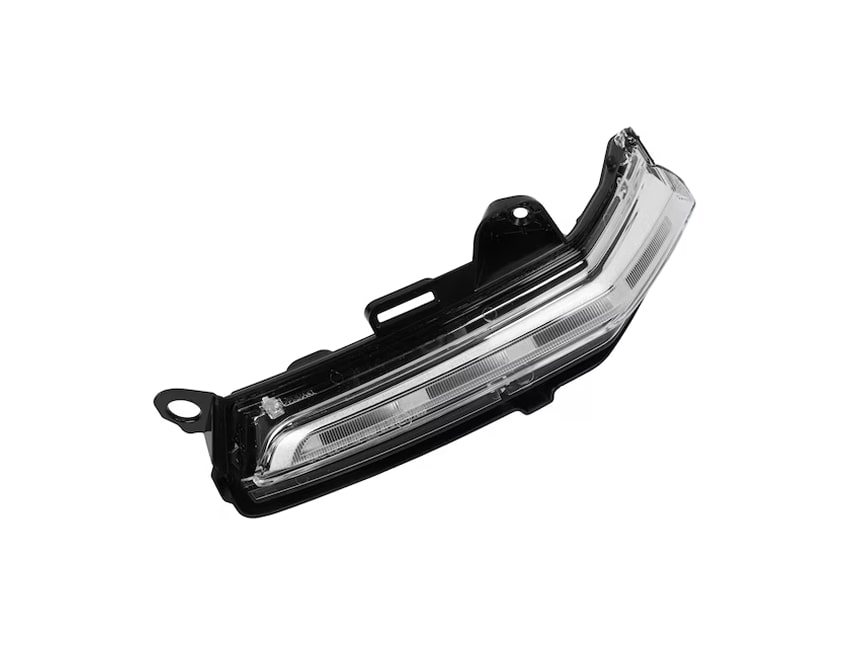
Curved Vehicle Turn Signal Light with a Black Mounting Bracket

5 of 6

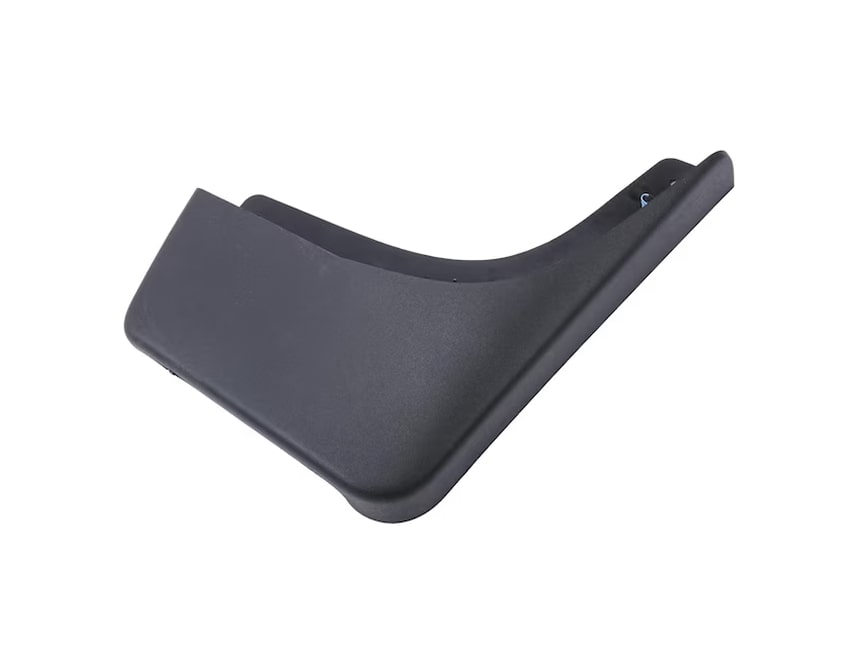
REASSEMBLE AND TEST FIT 

Transfer sensors, brackets, fog lights, etc., to the new bumper or fascia and bolt it on the vehicle. Reconnect electrical harnesses and reinstall the covers and shields. Check the function of fog lamps or other lighting that may have been removed and reinstalled.

A Black Vehicle Mud Flap with a Curved Design and Smooth Surface

6 of 6 

SCAN OR CALIBRATE

In a vehicle with integrated advanced safety technologies, visit a GM Collision Repair Facility for:  

  • Diagnostic scanning of the lighting and advanced safety systems 
  • Calibration of sensors such as parking, trailer, blind spot, radar and more. 
  •  Confirmation of system readiness and recording of calibration logs for warranty coverage.  
#/#

SHOP RELATED PARTS

solo la linea

THE IMPORTANCE OF GM GENUINE PARTS

It might be tempting to select less expensive aftermarket components, but GM original equipment (OE) parts are the only ones designed, engineered, tested and backed by General Motors.  
 
That’s important, because they are built to work with your GM vehicle’s safety systems and help restore the vehicle as close as possible to its pre-collision condition, which helps contribute to performance, safety, vehicle longevity and even resale value. 

solo la linea

BUMPER & FASCIA REPLACEMENT FAQ 

Before tackling a collision repair yourself, be clear about the parts you’re using and the effects the repair may have on the vehicle’s safety systems. We’ve compiled a quick list below of the most common questions answers about DIY repairs. 

Do I need special tools?

Generally, no. Most bumpers and fascias can be removed with standard tools. Sockets and extensions are the most common tools required (typically 10mm–18mm), although some fasteners require a Torx® tool for removal. Some trim parts held in place with plastic fasteners are easier to remove with a fork tool.  

Do GM bumpers come with all the necessary trim and electrical?

It depends. GM Original Equipment bumper assemblies include the trim, electrical and harness, for simpler “plug and play” installation. GM OE partial bumper assemblies include the trim, but not the electrical or harness. They are more cost-effective alternatives if the vehicle’s existing electrical and harness components can be reused.  

Is painting required for the bumpers and fascias?

Yes. Apart from steel bumpers offered with a chrome finish, other bumpers and fascias are delivered primed and ready to paint.  

Are fasteners and bolts included with new bumpers/fascias?

No. If the vehicle’s original bolts, brackets, clips and other fasteners are no reusable for the repair, they are available separately from GM. See the Body Hardware section for more details.  

Is calibration necessary after replacing a bumper or fascia?

Yes. Vehicles with advanced safety features incorporating cameras, radar and other technologies must have professionally conducted post-repair system scans and/or calibrations to ensure the safety systems operate properly. To find a GM-certified Collision Repair Network shop to performance scan or calibration, click here.  

solo la linea

TURN TO GM COLLISION REPAIR NETWORK SHOPS  

If your repairs appear to need the help of professionals, turn to a GM Collision Repair Network (CRN) shop. Each is trained and equipped to restore your GM vehicle to original specifications, using GM OE parts. Your vehicle will be back on the road with the peace of mind that comes with a certified shop. 
solo la linea

LIMITED WARRANTY

Most GM Original Equipment and Gold lines from GM Genuine Parts and ACDelco come backed with a 24-month/unlimited-mile limited warranty, and our Silver line limited warranties are 12 months/unlimited miles.